One of the biggest benefits of cloud surveillance camera is to keep an eye from anywhere when you are not physically present. There is much demand for home Ip cameras to check upon your family, pets or valuables from afar. It allows you to monitor what is happening at your place from your Smartphone or computer. TP-link NC200 is one such networked security camera that delivers a modest 480p video stream. It also comes with a set of features that include Wi-Fi connectivity, motion detection, a built-in microphone, email alerts and live recording and snapping picture. Will it suit your needs? Go on read our review.
Design, technical and Installation
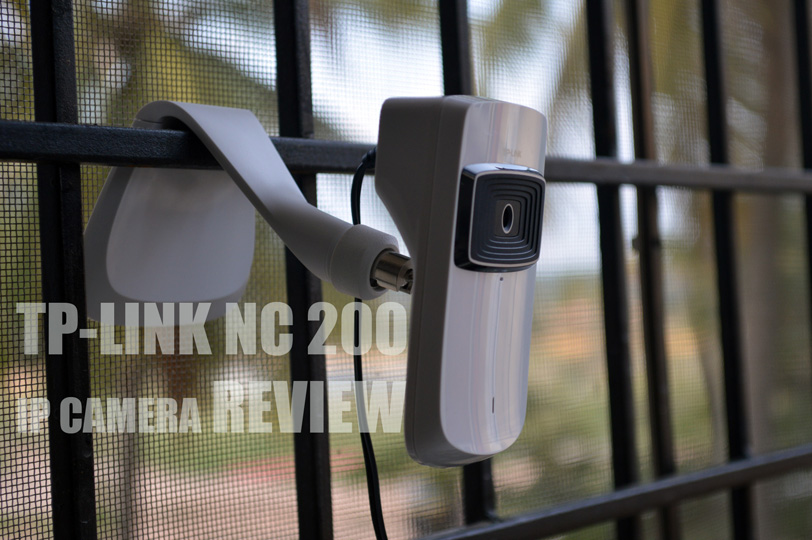
Out of the box you get the Cloud camera, RJ045 Ethernet cable, power adapter, extension cable, a stick-on and quick installation guide.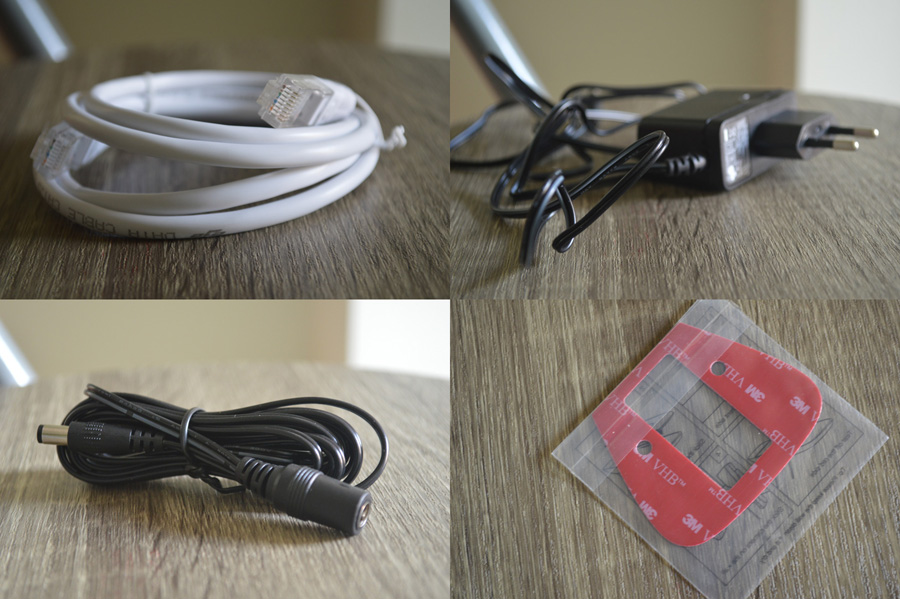 The NC200 comes in a shiny, white body. The main camera head has a ball joint that gives a good degree of positioning for optimum coverage and is connected to the stand. The stand in turn can be mounted on the wall or any surface by screwing or the included stick-on tape that comes with the package.
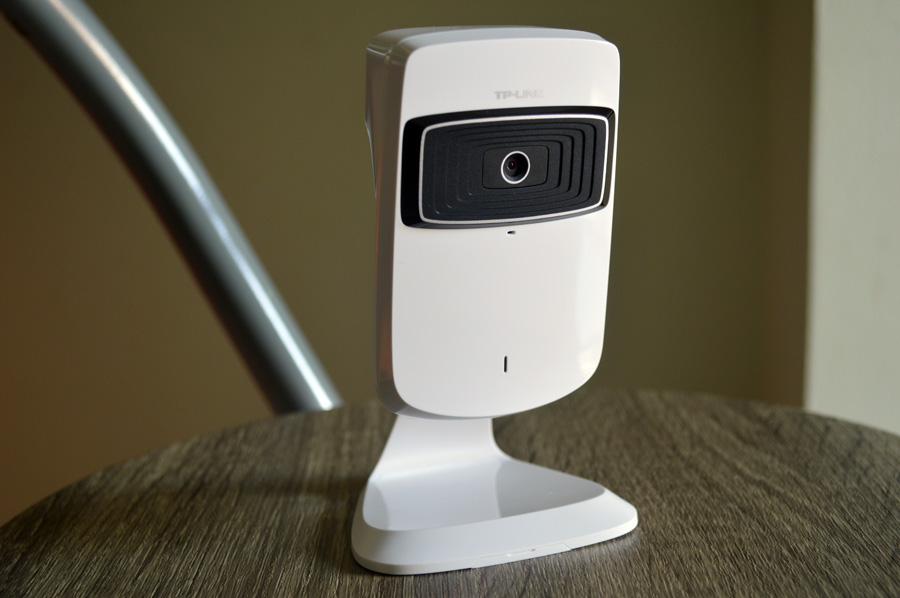
The glossy housing has a black matte rectangular face in the front that houses the ‘eye’. It features a 1/4″ progressive scan CMOS sensor with a f2.8 lens. It offers a 64 degree viewing angle. The video is captured at 20fps. The front of the camera holds the lens, a microphone, and power and Wi-Fi LED indicators.
The NC200 comes in a shiny, white body. The main camera head has a ball joint that gives a good degree of positioning for optimum coverage and is connected to the stand. The stand in turn can be mounted on the wall or any surface by screwing or the included stick-on tape that comes with the package.
The glossy housing has a black matte rectangular face in the front that houses the ‘eye’. It features a 1/4″ progressive scan CMOS sensor with a f2.8 lens. It offers a 64 degree viewing angle. The video is captured at 20fps. The front of the camera holds the lens, a microphone, and power and Wi-Fi LED indicators.
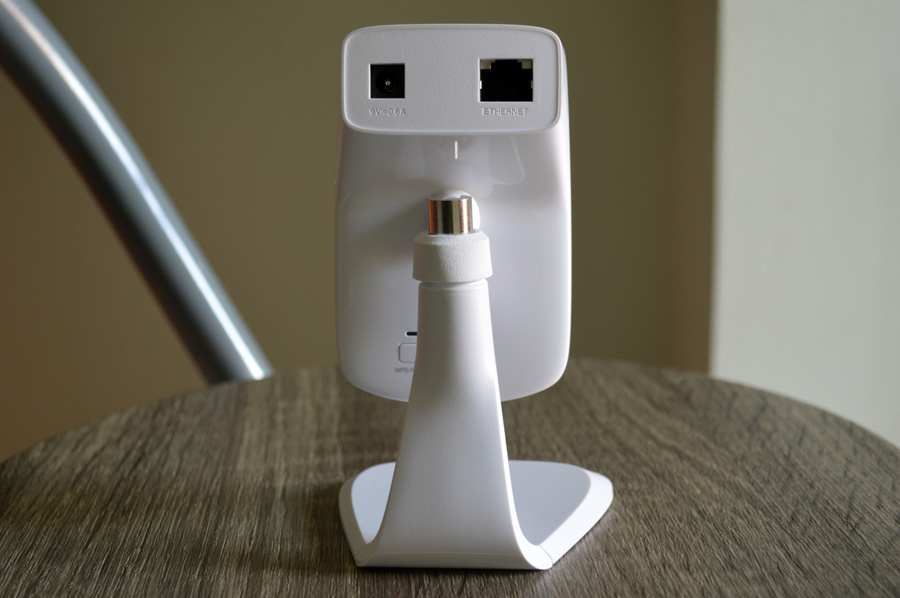
 The back hosts the ethernet jack, power inlet and a Wi-Fi Protected Setup (WPS)button. There is no microSD card slot, so you can’t store the images locally on the camera itself.
 Installing the NC200 is a fairly easy task. Once you power on the camera, the LED indicator blinks red and settles to red if it is not connected to a network. When you set it up for the first time, use the Ethernet cable to connect the camera with the router. The indicator turns green when it is connected.
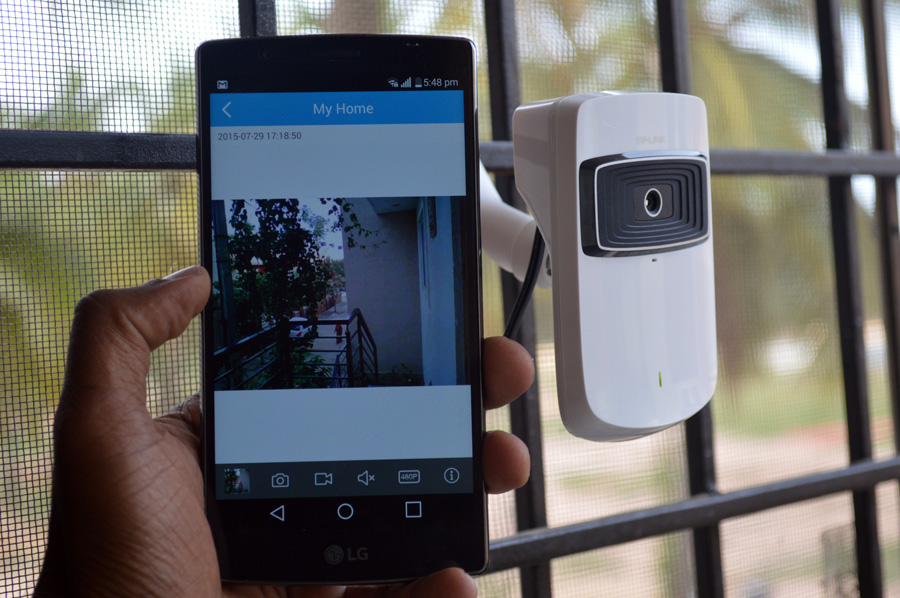
If you use an Android or iPhone, you can download the TP-link tpCamera app. On computer you can login to tplinkcloud.com portal for viewing and management of the camera. I connected the camera on my Android phone. Once the app is downloaded, the setup is straightforward. Register and login to the app and connect to your Wireless network. It will scan and show the list of cameras on the network. You can rename the camera and if there are more than one camera in the building, renaming helps in easy identification. The app asks you to connect the camera wirelessly. At this point the camera can be detached from the Ethernet cable and moved around and positioned any place within the wireless network.
Installing the NC200 is a fairly easy task. Once you power on the camera, the LED indicator blinks red and settles to red if it is not connected to a network. When you set it up for the first time, use the Ethernet cable to connect the camera with the router. The indicator turns green when it is connected.
If you use an Android or iPhone, you can download the TP-link tpCamera app. On computer you can login to tplinkcloud.com portal for viewing and management of the camera. I connected the camera on my Android phone. Once the app is downloaded, the setup is straightforward. Register and login to the app and connect to your Wireless network. It will scan and show the list of cameras on the network. You can rename the camera and if there are more than one camera in the building, renaming helps in easy identification. The app asks you to connect the camera wirelessly. At this point the camera can be detached from the Ethernet cable and moved around and positioned any place within the wireless network.